KL, MY
7:30:00 AM
KL, MY
7:30:00 AM

Need to expand a fixed-size VHDX in Windows? This guide shows how to mount, resize, and safely reclaim space inside ext4 disks (WSL2-compatible).
May 14, 2025
5 min read
A fixed-size VHDX disk can be expanded in Windows without data loss. Expanding a fixed-size VHDX disk in Windows can be frustrating because it requires resizing the internal partition, which isn’t immediately obvious. This guide will show you how to do this step by step.
Before proceeding, ensure you back up your VHDX disk in case something goes wrong. You should already have Hyper-V installed and enabled on your Windows machine.
Stop and exit Docker Desktop. This is important to ensure that no processes are using the VHDX disk while you are trying to resize it.
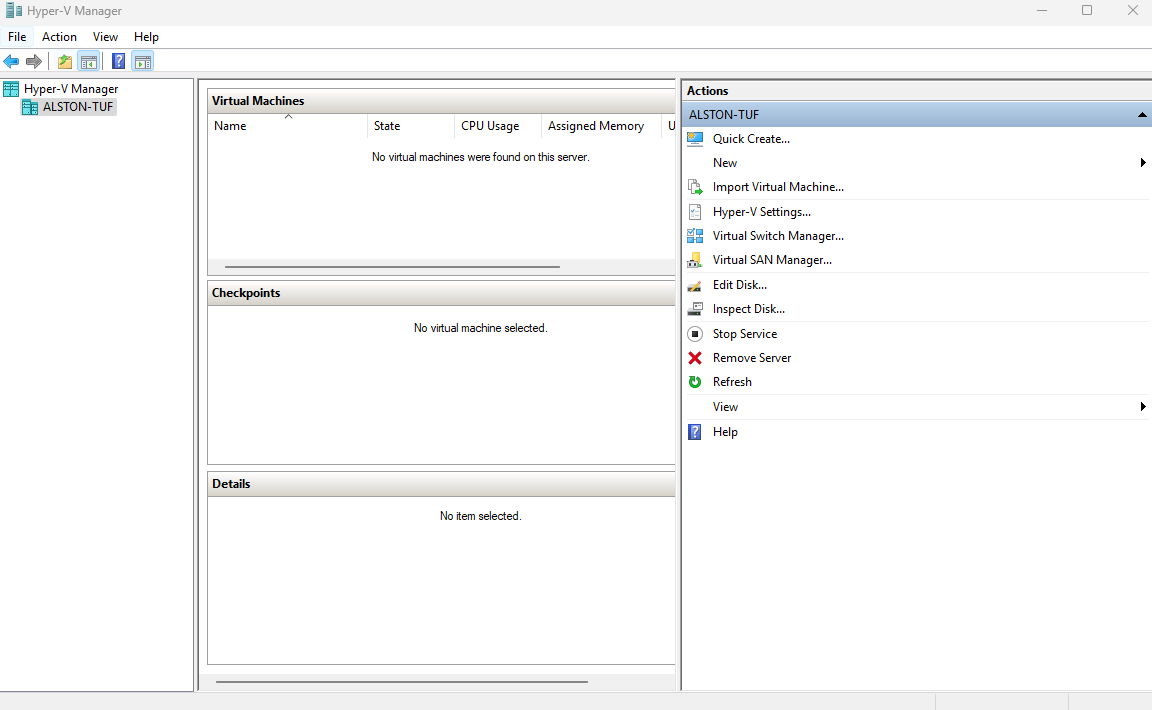
Open Hyper-V Manager:
Windows + S, type “Hyper-V Manager”, and open the application.
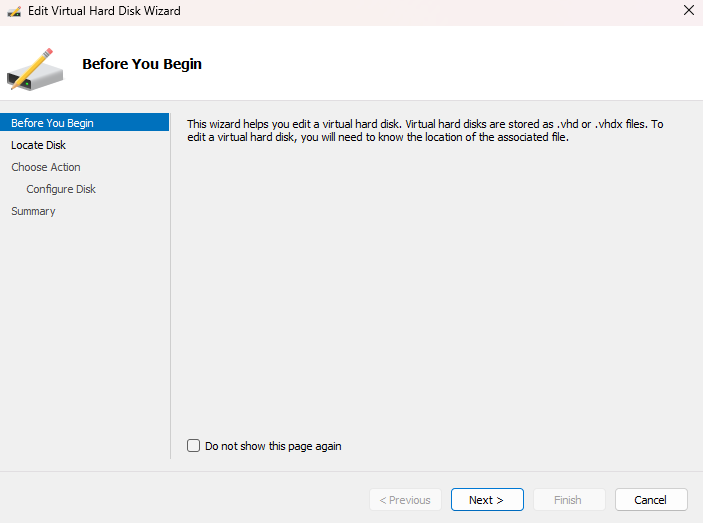
Edit the Virtual Hard Disk:

Locate the VHDX Disk:
docker_data.vhdx file.

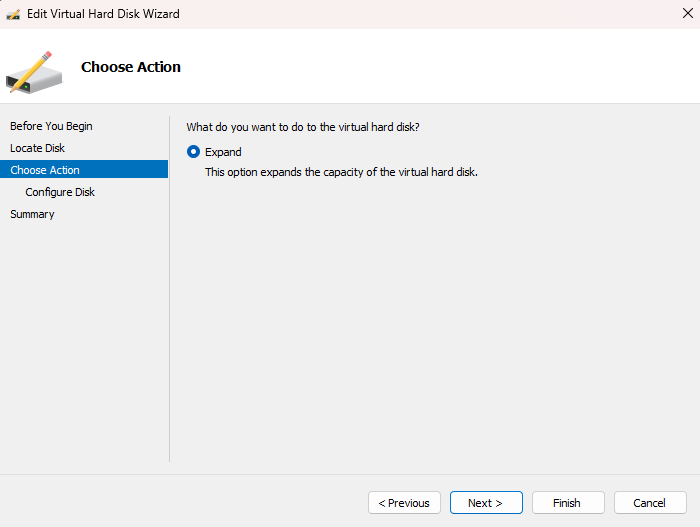
Expand the Disk:

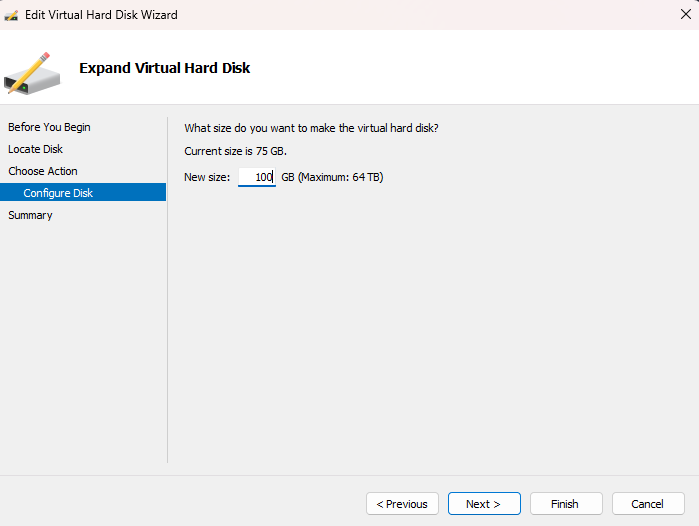
Specify the Size:

Summary:
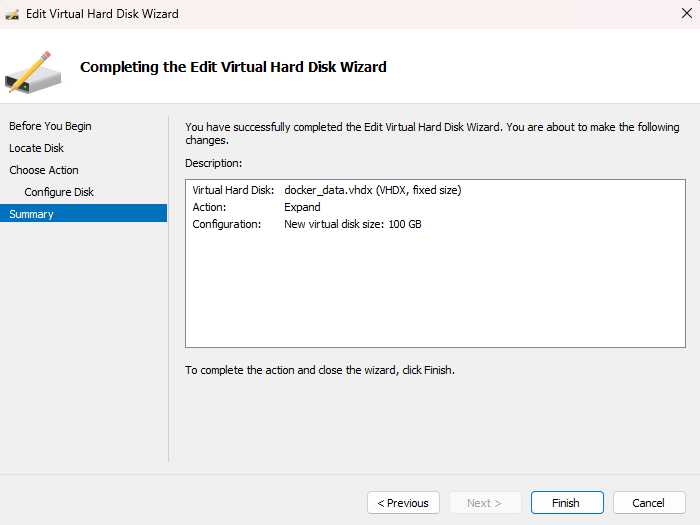

The VHDX disk will now be expanded to the new size. This should not take long.
Now that the VHDX disk has been expanded, we need to resize the internal partition to utilize the newly allocated space. If you were to start Docker Desktop now, you would see that the disk size remains unchanged. This is because the internal partition has not been resized yet.


Enter the WSL2 environment:
Open Windows Terminal or Command Prompt.
Type wsl and press Enter to enter the WSL2 environment.
Check the existing devices in your WSL2 distribution by running the following command:
ls /dev/sd* -laNext, we need to mount this expanded VHDX within WSL2 using PowerShell.
Windows + S, type “PowerShell”, right-click on it, and select Run as administrator.Mount the VHDX Disk to WSL2:
Run the following command to mount the VHDX disk to WSL2:
wsl --mount --vhd <path-to-vhdx-file> --bareReplace <path-to-vhdx-file> with the actual path to your docker_data.vhdx file. For example:
wsl --mount --vhd "D:\docker\DockerDesktopWSL\disk\docker_data.vhdx" --bareResize the Internal Partition:
Now, returning to the WSL2 environment, we need to resize the internal partition to utilize the newly allocated space.
Identify the newly mounted disk in WSL2 by running the following command:
ls /dev/sd* -laCarefully compare this output with the output from the previous ls /dev/sd* -la command to identify the newly mounted disk (e.g., /dev/sdb or /dev/sdc).
To resize the partition on the newly mounted disk (in this example, we’ll assume it’s /dev/sdf), run the following command:
sudo resize2fs /dev/sdfUnmount the VHDX Disk:
After the resizing process is complete, unmount the VHDX disk by executing the following command in PowerShell:
wsl --unmount <path-to-vhdx-file>Replace <path-to-vhdx-file> with the actual path to your docker_data.vhdx file.
Start Docker Desktop:


Congratulations! You have successfully expanded a fixed-size VHDX disk in Windows without losing any data. This process involves two key steps: first, resizing the VHDX disk using Hyper-V, and second, resizing the internal partition within WSL2 to utilize the newly available space.