KL, MY
7:30:00 AM
KL, MY
7:30:00 AM

Learn how to move Docker Desktop data to another drive on Windows using a custom fixed-size VHDX disk with Hyper-V.
May 9, 2025
4 min read
Docker Desktop on Windows via WSL2 is a great way to run Docker containers. However, the default installation location can fill up your C: drive quickly, especially when using large images or volumes. Fortunately, you can move Docker Desktop data to another drive using a custom fixed-size VHDX disk with Hyper-V.
Docker Desktop uses a virtual hard disk (VHDX) to store its data. By default, this VHDX is created on the C: drive and is dynamically sized, meaning it can grow as needed without first allocating all the space.
This can lead to issues as the VHDX file can grow significantly, consuming all available space on the C: drive. To avoid this, you can create a custom fixed-size VHDX on another drive and point Docker Desktop to use it instead.
The VHDX file does not shrink automatically when you delete data. You have to either use the Optimize-VHD command or the diskpart command to shrink it manually. In some cases, you may be able to shrink it down to a smaller size, but often it will not shrink down to the size you expected.
Create a custom fixed-size VHDX on another drive and point Docker Desktop to use it instead of the default VHDX. This will allow you to control the size of the VHDX file and prevent it from consuming all available space on your C: drive.
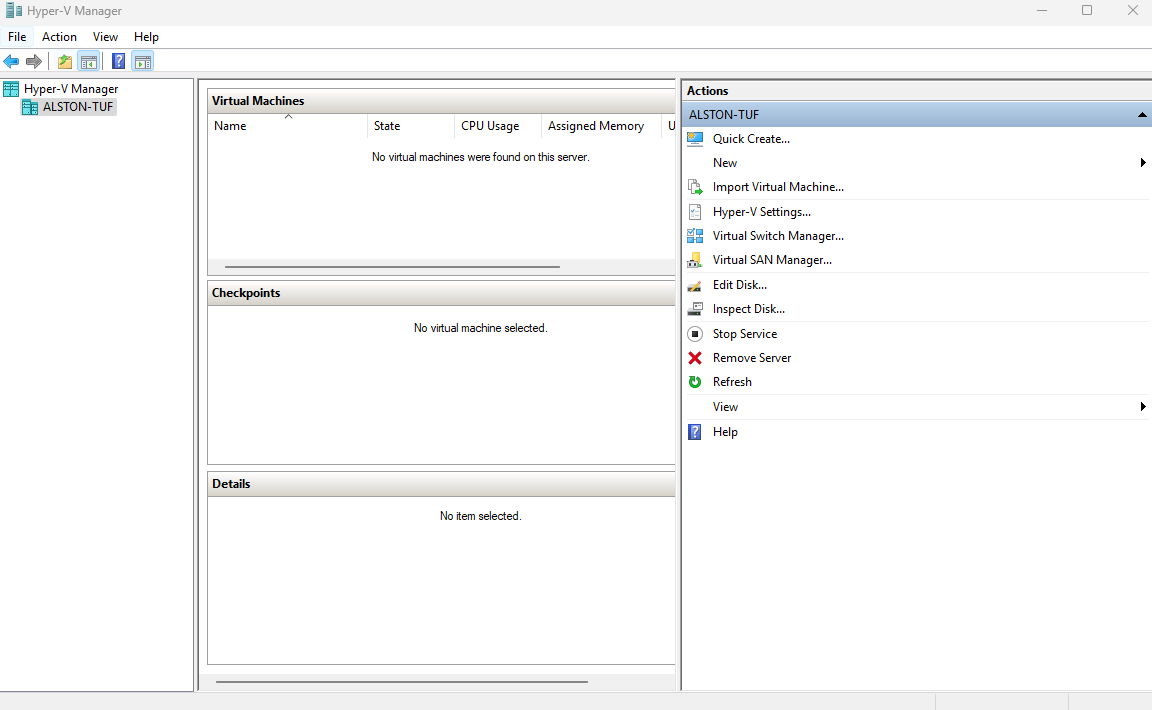
Open Hyper-V Manager:
Windows + S, type “Hyper-V Manager”, and open the application.
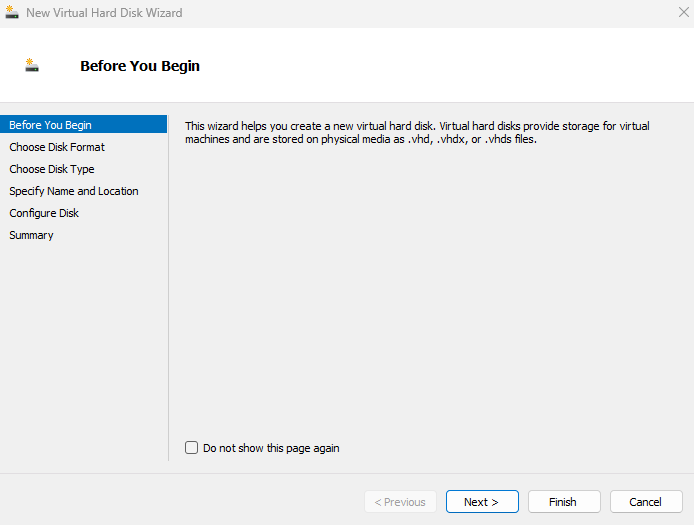
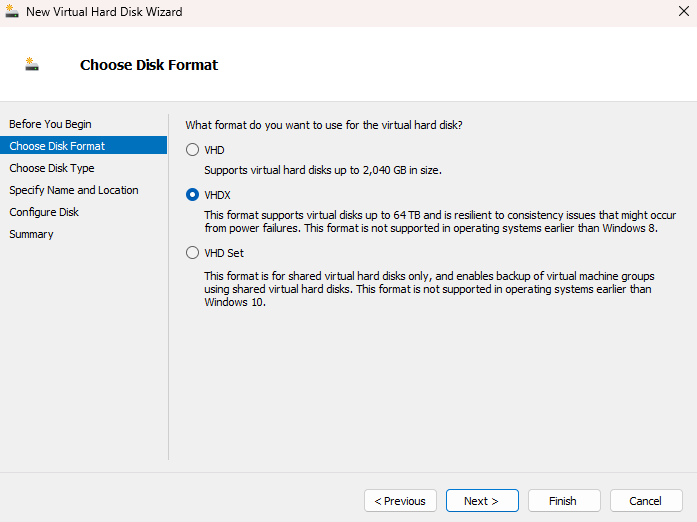
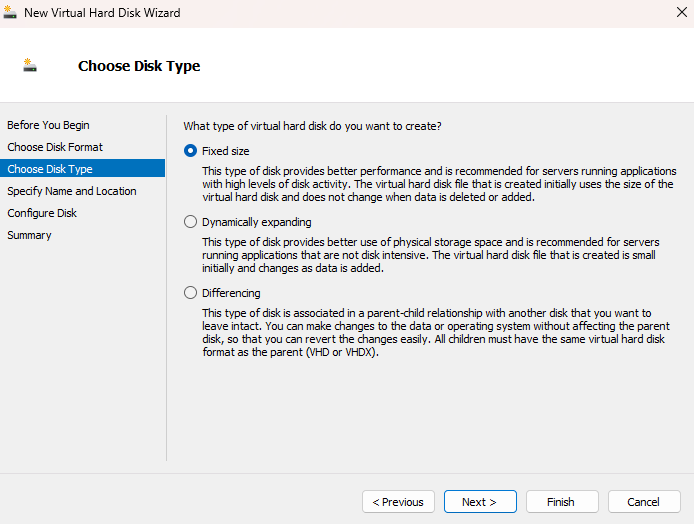
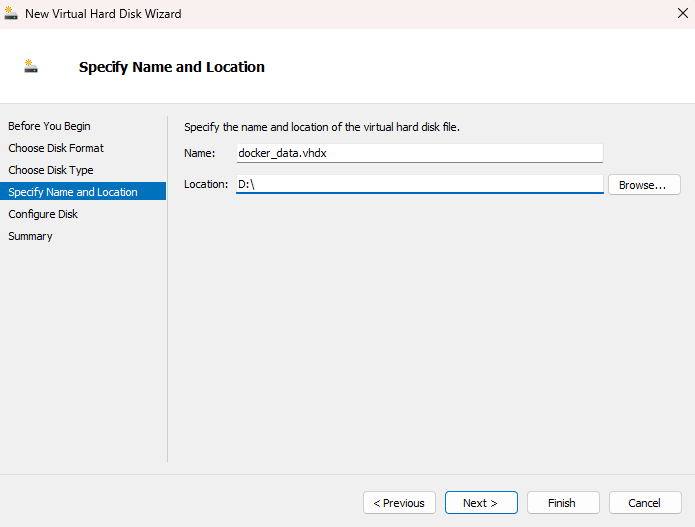
Create a New Fixed-Size Virtual Hard Disk:


docker_data.vhdx and choose the location on the new drive where you want
to store it. This VHDX file will later be moved to replace the default Docker Desktop VHDX.”


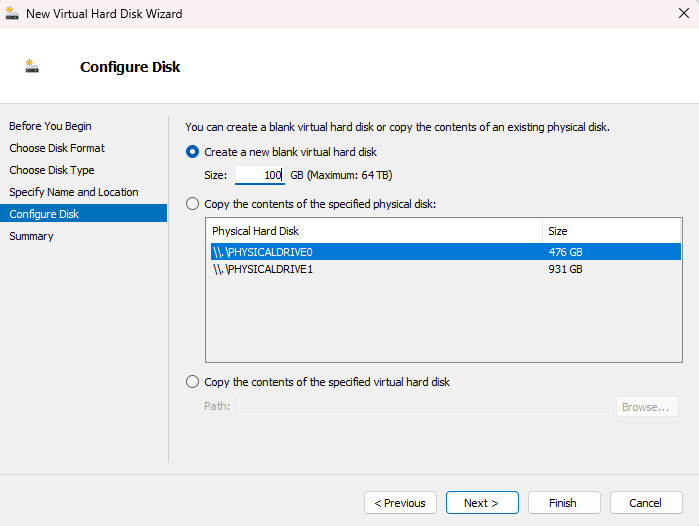
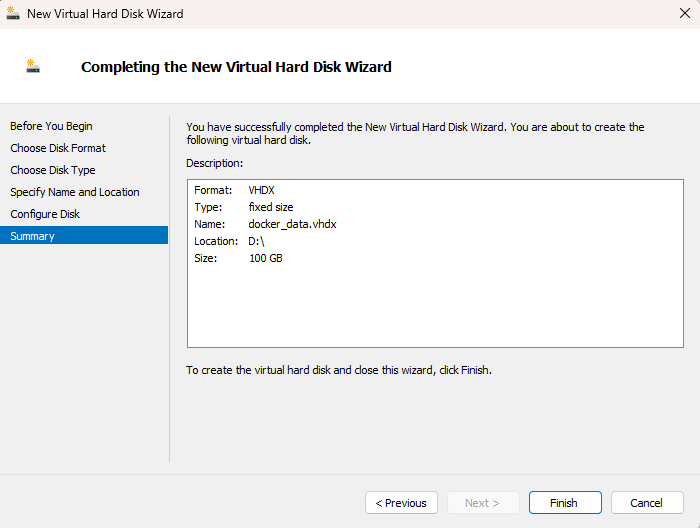

The newly created VHDX file will immediately consume the specified size (e.g., 100 GB) on the new drive. This is different from the default Docker Desktop VHDX, which is dynamically sized and can grow as needed.
Move the Docker Desktop disk image location to your desired drive:

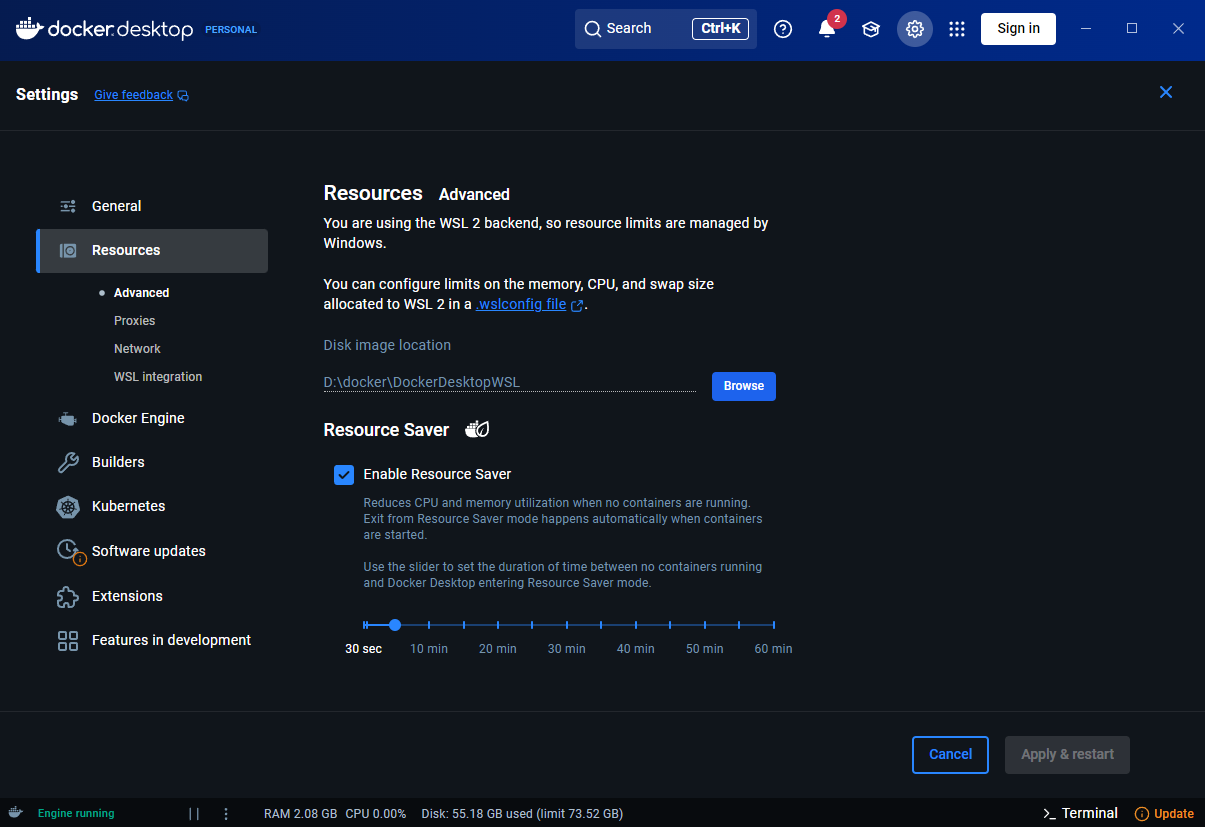
disk and main. - Click Apply & Restart. Docker
Desktop will apply the changes, restart, and initialize the new storage location by creating its own VHDX
file in the designated disk folder. - After Docker Desktop has fully restarted using the new location,
quit Docker Desktop. Ensure the Docker icon is no longer in the system tray to confirm it’s not running
in the background. - Delete the DockerDesktopWSL/disk/docker_data.vhdx file and move the
docker_data.vhdx file you created in step 2 to the DockerDesktopWSL/disk directory. - Start Docker
Desktop again.
You have now successfully moved Docker Desktop data to another drive using a custom fixed-size VHDX disk with Hyper-V. This will help you manage disk space more effectively and prevent the C: drive from filling up quickly.